Three layers in one pan -- brown butter fudgy brownie base, edible chocolate chip cookie dough, and flaky sea salt. 55 minutes, 9 squares, zero leftovers.
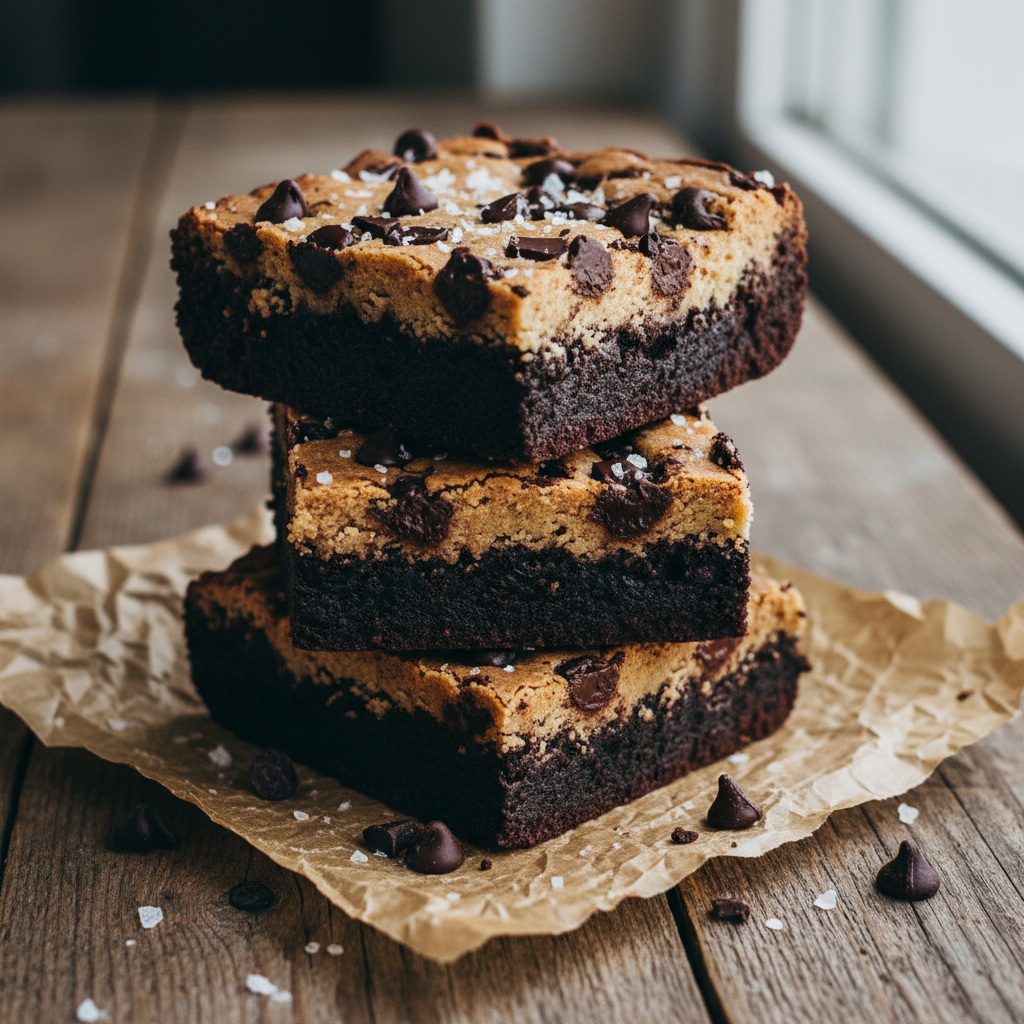
Image by TopFoodNews Team / AI-generated
There are brownies. And then there are these. The kind where you cut into them and there are three distinct layers happening at once -- a fudgy, brown butter brownie base that tastes like someone toasted the chocolate, a thick layer of edible cookie dough loaded with chocolate chips, and a finish of flaky sea salt that makes the whole thing taste like it came from a bakery that charges too much and is worth every cent.
Brown butter is the move that separates a good brownie from a great one. When you cook butter past melting into that nutty, amber, almost caramel-scented liquid, it adds a depth of flavor that regular melted butter just cannot produce. Combined with dark chocolate and cocoa powder, it creates a brownie base that tastes roasted and complex -- not just sweet.
The cookie dough layer is completely no-bake and completely safe to eat. Heat-treated flour, no raw eggs, just butter, brown sugar, vanilla, flour, salt, and a generous pile of chocolate chips. It sits on top of the warm brownie batter and bakes into a soft, barely-set layer that holds its shape when you cut it but gives way the moment you bite in.
These take about 55 minutes start to finish plus cooling time, and they serve 9. Make them on a Friday. They will not last the weekend.
Step 1: Heat-treat the flour. This is non-negotiable for safe edible cookie dough. Spread 1 cup of flour on a baking sheet and bake at 350F for 5 minutes, or microwave in a microwave-safe bowl in 30-second intervals, stirring between each, until the flour reaches 165F on an instant-read thermometer. Spread on a plate to cool completely before using. This kills any bacteria without affecting baking performance.
Step 2: Brown the butter. In a light-colored saucepan (you need to see the color change), melt the butter over medium heat. Once melted, keep cooking. It will foam, then the foam will settle, and then small brown bits will appear on the bottom of the pan and it will smell intensely nutty -- like toffee or hazelnuts. The moment it hits a deep amber color, pull it off the heat immediately and pour it into a large mixing bowl. Timing here matters. Thirty extra seconds takes it from brown butter to burnt butter.
Step 3: Make the brownie batter. Add the chopped dark chocolate to the hot brown butter and stir until completely melted and smooth. Whisk in both sugars until combined. Add eggs one at a time, whisking vigorously after each -- this builds the shiny crust that makes a great brownie. Add vanilla. Fold in flour, cocoa powder, and salt until just combined. No streaks of flour, but do not overwork it.
Step 4: Bake the brownie base. Preheat oven to 350F. Line an 8x8 inch baking pan with parchment paper, leaving overhang on two sides for easy lifting. Pour brownie batter in and spread evenly. Bake for 20 minutes -- the edges should be set but the center will still look slightly underdone. Pull it. It will firm up as it cools and you do not want a dry base under the cookie dough.
Step 5: Make the cookie dough. While the brownie base bakes, beat softened butter and brown sugar together until light and fluffy, about 2 minutes. Add milk and vanilla and mix to combine. Stir in heat-treated flour and salt until a soft dough forms. Fold in chocolate chips. The dough should be thick and scoopable -- similar to regular cookie dough but slightly softer.
Step 6: Layer the cookie dough. Let the brownie base cool for at least 15 minutes after coming out of the oven -- it needs to be warm but not hot. Drop the cookie dough in large spoonfuls across the top of the brownie base. Use an offset spatula or the back of a spoon to press it into an even layer, reaching the edges. It will not be perfectly smooth and that is fine.
Step 7: Bake again. Return the pan to the 350F oven for 10 to 12 minutes. The cookie dough layer will puff slightly and lose its raw sheen. The edges will look set. Pull when the center still has a very slight jiggle -- it firms up as it cools.
Step 8: Finish with salt and cool. Immediately scatter flaky sea salt across the top and press extra chocolate chips into the surface if using. Let cool in the pan for at least 30 minutes before cutting. An hour is better. Overnight in the fridge produces the cleanest, densest cut but room temperature gives you the fudgiest texture.
Step 9: Cut and serve. Use the parchment overhang to lift the entire slab out of the pan. Cut with a sharp knife, wiping the blade clean between cuts for neat edges. Cut into 9 squares for generous servings or 16 for smaller pieces.
The brown butter step is everything. Do not rush it and do not walk away from it. The difference between properly browned butter and slightly undercooked butter is about 45 seconds on the stove. Use a light-colored pan so you can see the color change clearly -- a dark pan makes it impossible to gauge.
Room temperature eggs matter for the brownie. Cold eggs can cause the chocolate mixture to seize slightly when added. Set them out 30 minutes before you start, or do a quick warm: drop the eggs in a bowl of warm (not hot) water for 5 minutes.
Do not skip the double-bake rest time between the brownie base and the cookie dough layer. If the brownie is too hot when you add the dough, the fat in the cookie dough melts out and you lose the distinct layering. Fifteen minutes minimum.
These store well. Airtight container at room temperature for 3 days, or refrigerated for up to a week. Bring to room temperature before serving -- cold brownies lose the fudgy texture. A 10-second microwave hit brings them back to life.