There is a very specific kind of craving that hits at 10pm on a Wednesday — not bad enough to get in the car for ice cream, but real enough to demand something chocolate. The molten mug cake exists for exactly that moment. Five minutes. One mug. A fudgy, gooey center that is actually molten […]
There is a very specific kind of craving that hits at 10pm on a Wednesday — not bad enough to get in the car for ice cream, but real enough to demand something chocolate. The molten mug cake exists for exactly that moment.
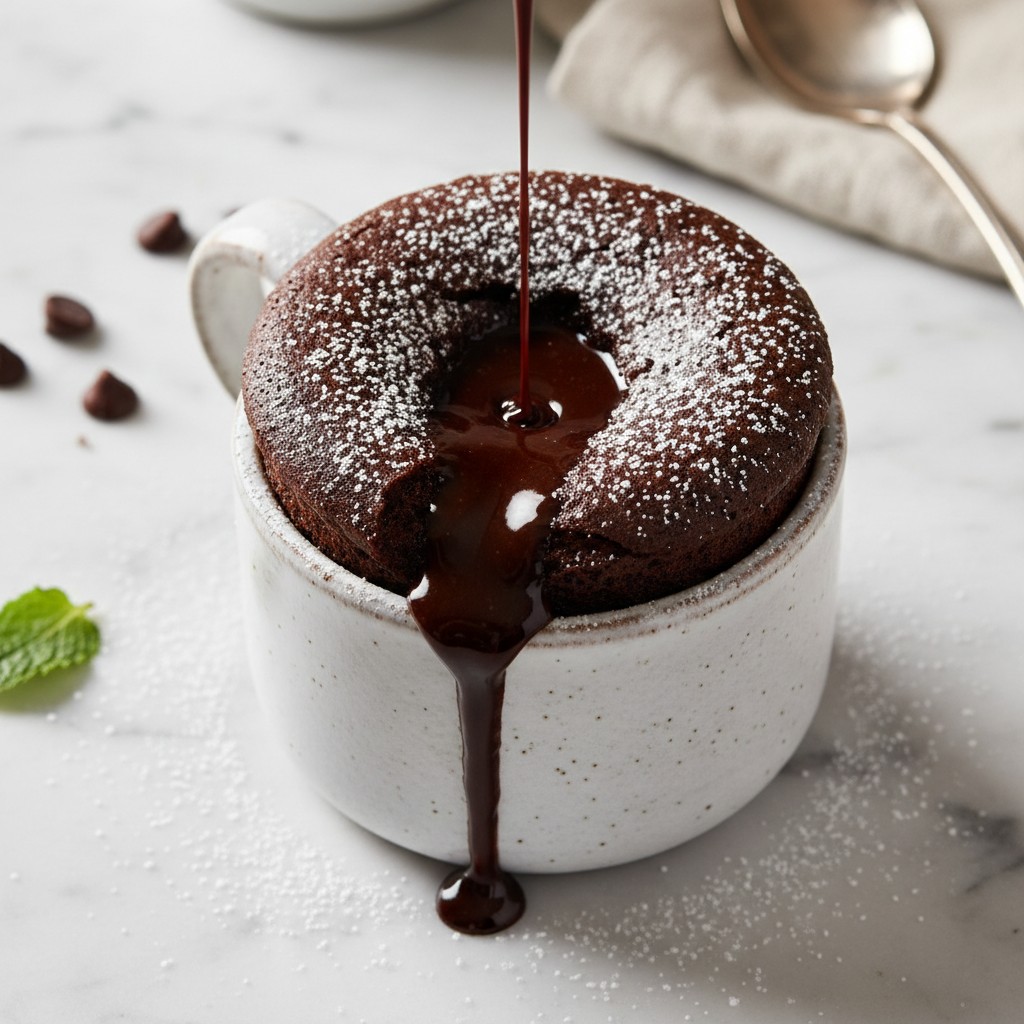
Five minutes. One mug. A fudgy, gooey center that is actually molten — not just slightly soft, but genuinely liquid chocolate in the middle. It sounds like a compromise, but done right it is genuinely satisfying in a way that a lot of more effortful desserts are not.
The difference between a good mug cake and a bad one is almost entirely about timing. Most recipes overcook it. When the edges are just set and the center looks underdone, it is done. Pull it. The carryover heat from the ceramic will finish the outside while leaving the center properly molten. Wait until it looks fully cooked and you have a dry, rubbery cake — technically edible, emotionally disappointing.
This version uses real cocoa powder and brown sugar for a deeper chocolate flavor. A single tablespoon of butter keeps it rich. The whole thing comes together in under two minutes of actual work, then two minutes in the microwave. Keep these ingredients stocked and you have a legitimate dessert option on demand at all times.
Step 1: Mix the dry ingredients. In a large microwave-safe mug (at least 12 oz capacity — smaller and it will overflow), combine flour, brown sugar, cocoa powder, baking powder, and salt. Whisk together with a fork until fully combined with no lumps.
Step 2: Add the wet ingredients. Add milk, melted butter, vanilla extract, and egg yolk directly to the mug. Stir with a fork until a smooth batter forms. Scrape the bottom and sides of the mug to make sure no dry pockets remain.
Step 3: Add the molten center. Drop the chocolate chips in a small pile directly in the center of the batter. Do not stir them in — they sink during cooking and create the molten core.
Step 4: Microwave. Microwave on high for 60 to 75 seconds. Start checking at 60 seconds. The cake is done when the edges are set and pulling slightly away from the mug sides, and the center still has a visible wet spot about the size of a quarter. It will look underdone. That is correct.
Step 5: Rest for 60 seconds. Let the mug sit on the counter for one full minute before eating. The center will continue to cook slightly from the residual heat. This resting step is what creates a properly molten center rather than a raw one.
Step 6: Serve. Eat directly from the mug. Optional but excellent: a pinch of fleur de sel on top, a scoop of vanilla ice cream alongside, or a dusting of powdered sugar. All three are optional. None of them are wrong.
Mug size matters more than people realize. A 12-oz mug gives the batter room to rise without bubbling over. In a smaller mug you will have a mess in your microwave. Use the biggest mug you own.
Every microwave is different. 60 seconds at 1000 watts versus 75 seconds at 700 watts will produce the same result. Start at 60 seconds, check the center, add 10-second increments if needed. You will dial in your microwave after the first time.
Brown sugar instead of white adds a slight molasses note that makes the chocolate taste deeper. If you only have white sugar it still works — just a slightly lighter flavor profile.
The egg yolk adds richness and helps set the structure without making it cakey. Do not use a whole egg — the whites will make it rubbery.